How to Kasher Your Oven for Passover
How to Kasher Your Oven for Passover
Is kashering your oven really as complicated as it sounds? If you have ever felt intimidated by the process of making your kitchen kosher for Passover, you are not alone. But the truth is that with a clear understanding of the principles and a straightforward set of steps, kashering your oven is entirely manageable, even for beginners.
What Does Kashering Mean?
Kashering (from the Hebrew root meaning "to make fit" or "proper") is the process of removing absorbed chametz flavors from cooking vessels and surfaces so they can be used on Passover. Throughout the year, your oven absorbs flavors from chametz foods like bread, pizza, pastries, and casseroles. Since Passover requires complete avoidance of chametz, these absorbed flavors need to be purged before the oven can be used for Passover cooking.
The principle behind kashering is simple: the way a vessel absorbs flavor is the way it releases it. Since ovens absorb flavor through dry heat (fire), they are kashered through dry heat (fire), specifically by heating the oven to a high temperature for an extended period.
Self-Cleaning Ovens
If you have a self-cleaning oven, kashering is remarkably easy. The self-clean cycle reaches temperatures of approximately 850 to 900 degrees Fahrenheit, which is well above the threshold needed to kasher through fire (libun). Here is what to do:
Step 1: Clean thoroughly. Remove all visible food residue, grease, and debris from the oven interior. Remove the racks. Wipe down the walls, floor, ceiling, and door of the oven.
Step 2: Remove racks and any inserts. Most self-clean cycles should be run without the racks inside (check your oven manual). Some people kasher racks separately by running them through a self-clean cycle in pairs.
Step 3: Run the self-clean cycle. Let the oven complete its full self-clean cycle (typically 2 to 4 hours). This is your kashering. Once it completes and the oven cools down, the oven is kosher for Passover.
Step 4: Clean again if needed. After the self-clean cycle, wipe away any ash residue. Your oven is now ready for Passover use.
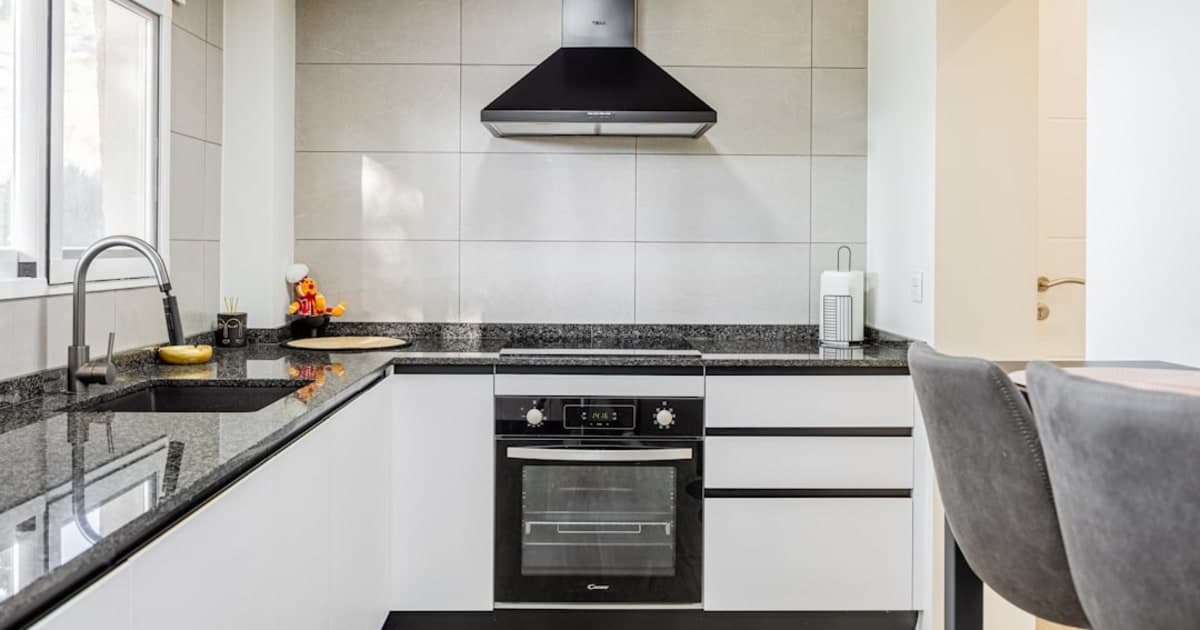
Standard (Non-Self-Cleaning) Ovens
If your oven does not have a self-clean feature, the process requires a bit more effort but is still straightforward:
Step 1: Clean thoroughly. This is the most important step. Use oven cleaner (the strong, chemical kind works best) to remove all visible food residue, grease, and baked-on material. The oven must be visibly clean before kashering. Pay special attention to the oven floor, the area around the heating elements, and the door, especially the glass and the seal.
Step 2: Wait 24 hours. After cleaning, the oven should not be used for 24 hours. This waiting period ensures that any remaining absorbed flavors become "stale" (noten taam lifgam), which is a halachic consideration that makes the kashering more effective.
Step 3: Heat to maximum temperature. Turn the oven to its highest setting (typically 500 to 550 degrees Fahrenheit) and leave it on for one to two hours. If your oven has both a bake and a broil setting, use the broil setting for at least part of the time, as it typically produces higher temperatures.
Step 4: The racks. Oven racks can be kashered inside the oven during this high-heat process. Make sure they are clean first.
Kashering the Stovetop
Gas stovetops: Remove the grates and drip pans. Clean everything thoroughly. Replace the grates and turn each burner to its highest setting for 15 minutes. The grates that sit directly over the flame are kashered by this process. The drip pans and the stovetop surface between burners should be covered with aluminum foil for Passover (since they do not reach high enough temperatures to be kashered by the burners alone).
Electric coil stovetops: Clean thoroughly. Turn each burner to high for 15 minutes. The area between burners should be covered with foil.
Glass or ceramic stovetops: These present a unique challenge because the cooking surface itself cannot be kashered through standard methods. The common practice is to clean it thoroughly, avoid using the area between burners, and place a metal grate or trivet over each burner area so that pots do not sit directly on the glass surface. Some authorities are more lenient and allow direct use after thorough cleaning. Consult your rabbi for guidance specific to your situation.
Kashering the Microwave
Clean the microwave thoroughly, including the turntable, walls, ceiling, and door. Let it sit unused for 24 hours. Then place a cup of water inside and heat it until the water boils vigorously and the interior fills with steam (about 10 minutes). If the turntable is ceramic or glass, it should be replaced with a Passover-specific turntable or covered.
Some authorities hold that microwaves cannot be adequately kashered and recommend using a separate microwave for Passover. If you choose to kasher your microwave, covering food during Passover use (with a microwave-safe cover or an inverted plate) adds an extra layer of precaution.
Kashering Countertops
Granite, marble, and stainless steel: Clean thoroughly and let sit for 24 hours. Then pour boiling water directly from a kettle over the entire surface, making sure the water contacts every part. Some people place a hot stone or piece of heated metal into the water stream to keep it at a rolling boil as it contacts the surface. After pouring, many families cover the countertops with contact paper, plastic sheeting, or aluminum foil for Passover.
Laminate (Formica) and tile: These surfaces are subject to debate. Many authorities hold they cannot be kashered and must be covered. Others allow kashering with boiling water followed by covering. The most common practice is to clean well and then cover completely.
Wood: Wooden countertops can be kashered by pouring boiling water over them after they have been cleaned and left unused for 24 hours.
Other Kitchen Items
Metal pots and pans (no non-stick coating): Clean thoroughly. Wait 24 hours. Immerse completely in a pot of boiling water (hagalah). The water must be at a rolling boil when the item is immersed. Since you need a pot big enough to hold the item being kashered, communities often organize a communal hagalah before Passover.
Sinks: Stainless steel sinks can be kashered by cleaning, waiting 24 hours, and then pouring boiling water over every surface. Porcelain sinks cannot be kashered; use a Passover sink insert or basin.
Dishwasher: Opinions vary. Some authorities allow kashering by running the dishwasher empty on its hottest cycle (after cleaning and 24-hour wait). Others recommend using separate dish racks and running two empty hot cycles. Many families simply wash Passover dishes by hand.
Items That Cannot Be Kashered
Certain items cannot be kashered for Passover and require separate Passover sets. These include ceramic and porcelain dishes, china, earthenware, non-stick coated pans (the coating cannot withstand the heat needed for kashering), and most plastics (though some authorities are lenient with certain hard plastics).
When to Kasher
Kashering is typically done in the final week before Passover, after the chametz cleaning is complete but before you begin Passover cooking. Remember the 24-hour waiting period when planning your timeline. Many families kasher on the Sunday or Monday before Passover to give themselves time for cooking in the days that follow.
For more on Passover preparation, see our guides on preparing for Passover, cleaning for chametz, and selling chametz.